It seemed like such a great idea…pumpkin and black beans. I think I was pulling something out of the freezer when it came to me. There was a little leftover pumpkin in there and I thought, “I bet that would be good in chili.” I mulled it over some more and then it came to me – Halloween Chili! And of course for Halloween Chili (with orange pumpkin), black beans were the logical choice.
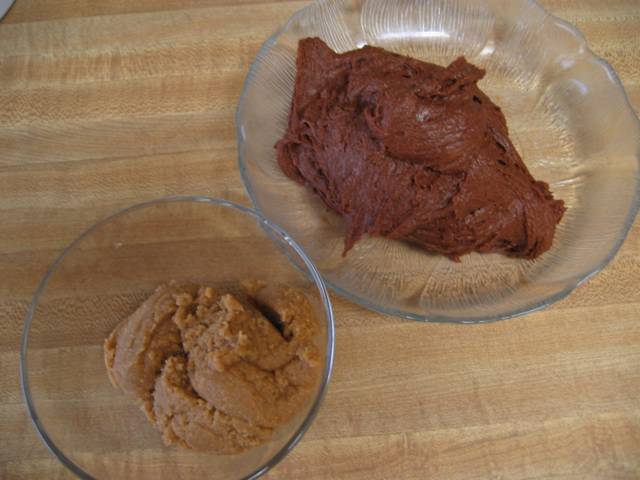
I started out with my recipe for Cincinnati Chili and went from there. Cincinnati Chili, if you haven’t had it, is spicy but a little sweet. My recipe calls for pumpkin pie spice, honey and a little chocolate in addition to the more traditional chili seasonings of chili powder and cumin. I thought the seasonings in that recipe would work well with the pumpkin, although I chose to omit the chocolate. I started out swapping the pumpkin for the tomato sauce and then kept tasting and adding more things until I got it the way I liked it. I found in the beginning that the pumpkin made it heavy and dull. I added some hot sauce and increased the vinegar in the hopes of brightening it up a bit. Then I threw in more chili powder and more hot sauce. I finally gave in – it needed the acidity of tomatoes – so I threw in a can of tomatoes. At some point I also upped the pumpkin to a whole can since I didn’t want yet another small bit of it floating around in my freezer.
In the end, I was happy with it – even if it wasn’t quite the Halloween Chili I originally envisioned.
Halloween Chili
1 tbs olive oil
1 onion, coarsely chopped
3 cloves garlic, finely chopped
1 lb lean ground beef
3 tbs chili powder
1 tsp cumin
1½ tsp pumpkin pie spice
2 tbs cider vinegar
1 tbs honey
½ tsp salt
1 tsp hot sauce
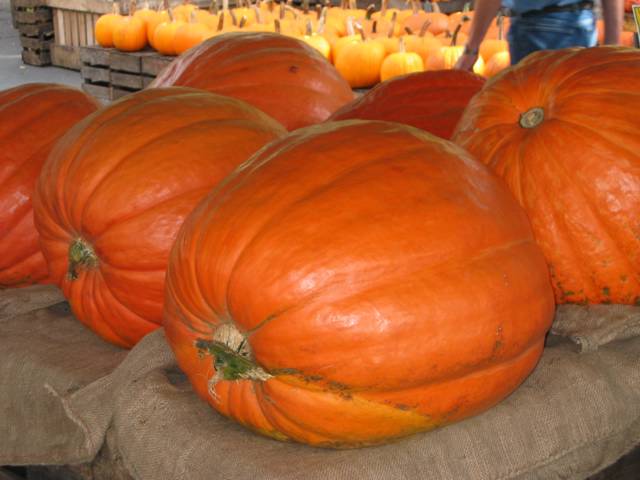
1 15 oz can pumpkin
1 14 ½ oz can diced or stewed tomatoes, undrained
1 29 oz can black beans, drained and rinsed
1 cup beef broth
1½ cup water
Heat the oil in a large dutch oven over medium high heat. Sauté the onions and garlic until the onions are golden. Add the ground beef. Break it up with the spoon and stir occasionally until it is browned all over. Add the remaining ingredients, bring to a simmer, lower heat and cook as long as you like. Happy Halloween!